

A kitchen is one of the hardest rooms to picture from a drawing. Cabinets, counters, appliances, lighting, and finishes all have to work together, and a flat plan hides most of that. A kitchen render closes the gap by turning the plan into an image that looks like a photo of the finished room.
This guide explains what a kitchen render is, what it can show you, how the lighting, materials,s and camera work, and how software options compare. I name each source and flag the ones that come from software vendors, since they promote their own tools. I found no prices I could tie to a source, so none appear here.
What is a kitchen render?
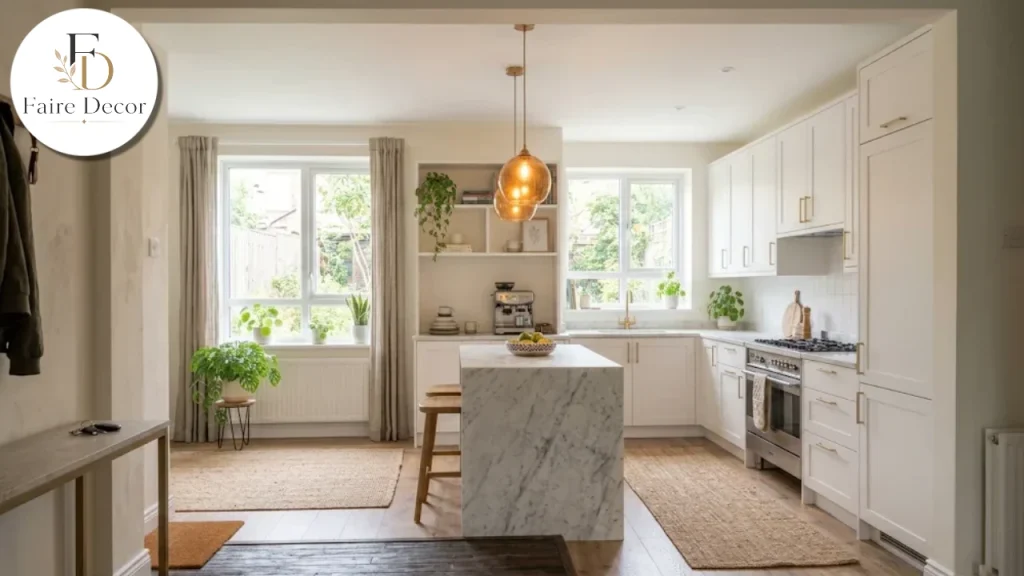
Cedreo, a floor plan and 3D design software vendor, describes a kitchen design rendering as a “hyper-realistic visual representation” of a kitchen design. Its article says the image shows the layout, the kitchen’s position in the home, appliances, cabinets, and seating.
In plain terms, a render is an image generated by software from a 3D model. You build the room digitally, assign materials and lights, choose a camera angle, and the software calculates what the room would look like. Cedreo says its renders come from a 2D plan and a 3D floor plan; then the image is generated and downloaded.
Why people use renders
Renders are a communication tool. A homeowner, a designer and a contractor can all look at the same picture and agree on what is being built. Cedreo lists several benefits in its article, and because it is a vendor, treat them as claims rather than test results.
An accurate picture of the finished project, which it says reduces gaps between client and designer expectations.
Online sharing, so clients can review at their own pace.
Changes during review, with a new render generated “in minutes.”
Faster approvals, which it says can “shave weeks off of the average client approval timeline.”
The article gives no figures for time or cost savings beyond that phrase, so I would not build a plan around it. The underlying idea is sound, though. It is far cheaper to move a cabinet in software than in a finished room.
What a good render shows
Cedreo suggests showing a kitchen from several angles, such as the entryway and the sink. It also suggests showing how the space is used, including casual dining, entertaining and how the kitchen connects to the rest of the home.
The Chaos blog, written by Ricardo Eloy and last updated in December 2025, makes a similar point from a rendering angle. It says to choose angles that suit the kitchen layout and show the whole room and key features. It names the sink and the wall cabinets that hold the fridge as must-see shots.
It also suggests using doors and flooring to make the kitchen look integrated with the house. That is a nice detail. A kitchen floating in a white void feels like a drawing, and a kitchen with a visible doorway feels like a home.
Lighting a kitchen render
Lighting does more for realism than any other setting. The Chaos blog gives specific advice for its V-Ray software, and the principles carry over.
Use area lights, because real light sources have physical size. The article says you can adjust shape, falloff, color temperature, intensity, and decay.
Add soft daylight even when the sun does not enter directly. It recommends V-Ray’s Sun/Sky system, where you control clouds and whether they cast shadows.
The D5 Render workflow, credited to Atmos Visualization and promoted by D5, takes a similar approach. It uses HDRI lighting for soft, natural tones and adjusts the sun angle for shadows and depth. It adds volumetric lighting for ambiance.
For work surfaces, D5’s article places rectangular lights over countertops to highlight textures and tunes the intensity to avoid harsh highlights. Neither article gives numeric light values, so you will need to test and look.
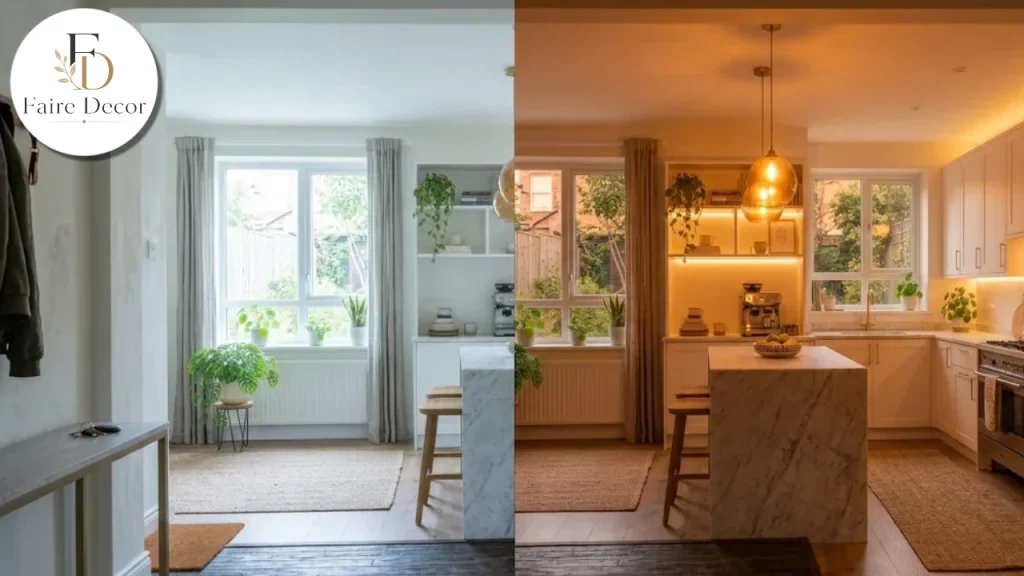
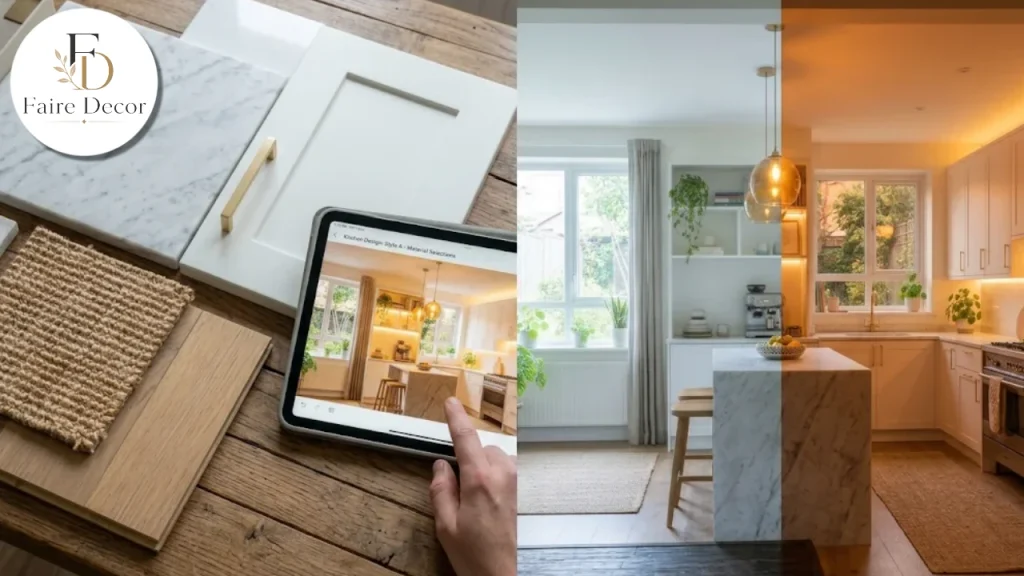
Cedreo adds that you can control indoor and outdoor lighting to show different moods and how light enters the room. A morning view and an evening view of the same kitchen can feel like two different rooms.
Materials and textures
Materials are what make a counter look like stone and a cabinet look like painted wood. The Chaos blog says to source materials from its libraries or build them from presets, then tune reflectivity and roughness in the material editor.
It gives a useful size tip: “there’s usually no need for huge textures, and you can get away with just 2k.” Its libraries range from 2k to 8k. Oversized textures use memory, which can cause problems with GPU rendering.
D5’s workflow starts with base finishes from its asset library. For custom surfaces,s it imports high-resolution textures and combines diffuse, normal,al and roughness maps. It also uses tri-planar mapping for irregular or curved surfaces.
Cedreo offers “dozens of materials” for floors, walls,lls and countertops, and “more than 3,000 pieces of furniture, appliances, and decor.” Those are catalog sizes from a vendor, so they describe what that product ships with.
If you are choosing real finishes for your kitchen, our guide to best flooring is a useful companion to the digital version. Our post on gray green paint shows a calm color you could test in a render before you buy a can.
Camera and composition
The camera is where a render becomes a picture. The Chaos blog suggests depth of field for a photographic look. The D5 article recommends two-point perspective for balanced architectural shots.
Both articles stress that a render should communicate design intent. The Chaos blog warns against technical-looking images, saying renders should convey the designer’s intent rather than read as technical drawings.
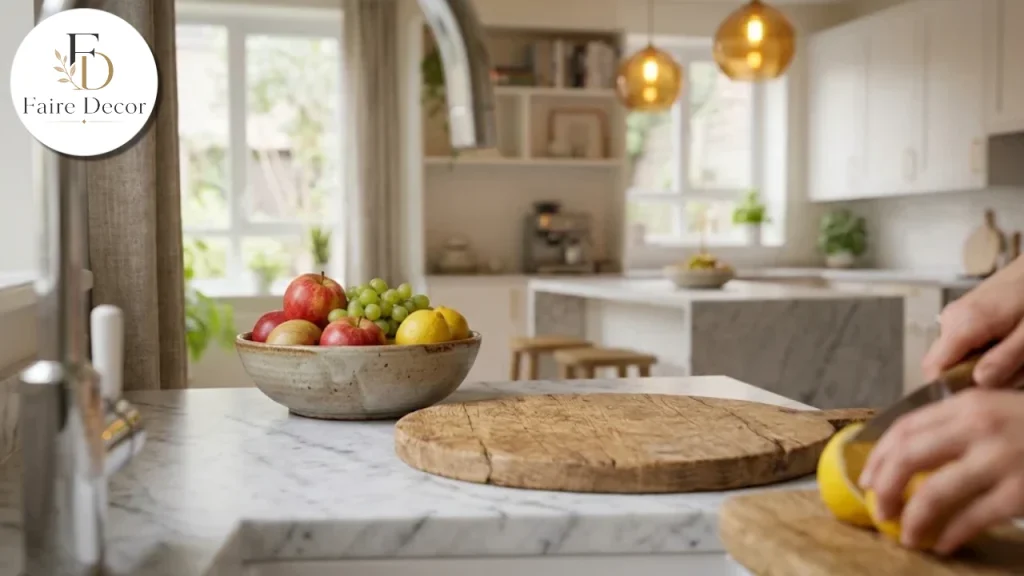
D5 also suggests adding utensils, plants, and small decor from an asset library to create a lived-in feel. Props are a small touch that makes a big difference. A bowl of fruit or a cutting board tells the eye that people use this room.
For ideas on what to put on those counters and walls, see our home decor ideas that actually work and our guide to how to decorate walls.
A simple workflow
The sources describe slightly different workflows, so here is a general order that fits all of them. It is my own summary, not a quote from any one article.
Measure the room. Get accurate dimensions, including windows and doors.
Build the model. Use a design tool or a modeling program.
Place cabinets, appliances, and fixtures. Match real product sizes where you can.
Assign materials. Start with presets, then refine.
Set the lighting. Combine daylight with placed lights.
Choose cameras. Pick two or three angles that tell the story.
Render and review. Look for problems, then adjust.
Share and revise. Collect feedback and re-render.
D5’s article adds a modeling tip for people using SketchUp. It suggests using block colors in SketchUp so materials are easier to map when the model is imported, and it notes a reload feature that applies SketchUp edits without re-importing.
Reading a render with a critical eye
A render is persuasive by design, so look at it the way you would look at a sales photo. These checks are my own suggestions, not rules from the sources.
Compare finishes with real samples. Screens change color, and a digital material is an approximation.
Check sizes against the plan. A wide-angle view can make a small kitchen look larger than it is.
Look for what is missing. Outlets, vents, switches,s and trash storage often vanish from images.
Ask what the camera hides. Every angle leaves something out.
Treat a kitchen render as a strong visual aid and not as a guarantee. The measured plan and the real samples still decide what gets built.
A short glossary
These terms come up in the sources, and knowing them makes the articles easier to follow. The meanings are plain-language summaries.
Render: an image generated by software from a 3D model.
Texture: an image that gives a surface its pattern, such as wood grain.
Roughness: a material setting that controls how sharp or blurry reflections look.
HDRI: an image-based lighting method, which D5 uses for soft natural tones.
Depth of field: the photographic blur that makes the focus area stand out.
Proxy: a light stand-in object that keeps a scene fast, which the Chaos blog suggests using where possible.
IPR: interactive preview rendering, which the Chaos blog uses to iterate on looks.
Keep the scene clean
The Chaos article lists several habits that make scenes easier to render. They are worth knowing even if you never open V-Ray.
Keep geometry clean. Overlapping faces, vertices,es and stray smoothing groups make scenes harder to render.
Skip unseen detail. The article jokes about avoiding silverware inside closed drawers, and suggests using proxies where possible.
Separate unseen spaces. If the rest of the house is not visible from the kitchen, separate it from the scene.
Mind texture size. Oversized textures consume memory.
For a homeowner using a simple app, the lesson is the same: only model and detail what the camera will see.
AI tools in rendering
D5’s article covers version 2.9 of its software and lists several AI features. These are vendor claims, so I am reporting them rather than endorsing them.
Post-AI sharpening and denoising to clean up the image.
Ultra HD Texture, which it says “quadruples resolution” for focal points like islands.
AI Texture Map Generation, which creates texture maps automatically.
AI Atmosphere Match, which balances indoor and outdoor lighting.
AI Enhancer, which refines selected areas with adjustable intensity.
D5 advises adjusting light and AI effect intensity per element rather than applying one setting everywhere. That is good general advice for any automatic tool: use it where it helps and check the result.
Kitchen design software compared
Not everyone needs professional rendering software. The Talk of the House article, written by Kelly and published in August 2026, tested eight kitchen design tools on a 12-by-14-foot galley kitchen.
I found no affiliate disclosure on the page, but every product links to Amazon, which may be affiliate links, so read it with that in mind.
| Tool | Free? | 3D and render notes | Suits |
|---|---|---|---|
| Sweet Home 3D | Open source, per the article | Real-time 3D plus a photo rendering mode the article calls “cartoonish” | DIY homeowners and beginners |
| DreamPlan Home Design | Limited free version | 3D rendering rated “Good”; some slowdowns reported | First-time homeowners on a budget |
| Home Design 3D | Paid, affordable entry | 2D and 3D modes; cannot save or print to PDF | Budget users who only need visualization |
| Virtual Architect Kitchens & Baths | Paid | Older Windows 10 machines only, per the article | Kitchen and bath projects |
| Home Design 11 PRO | Paid, lifetime license | Virtual 3D tour with light and shadow simulation | Serious users wanting architecture-level tools |
The article recommends Sweet Home 3D for most homeowners and DreamPlan as the free option. Because the author tested everything on one layout, the ratings reflect that single kitchen. The article also lists three other tools I have left out for space.
Software or a rendering service?
You can make a render yourself or hire someone. The sources I opened are vendors, so none gives a neutral comparison. Here are the trade-offs I can state without inventing numbers.
DIY software gives you control and fast changes. Cedreo says a new render can be generated in minutes during review.
A professional brings skill with lighting, materials and camera work, which the Chaos and D5 articles show is a craft of its own.
A hybrid works well: sketch your layout in a simple app, then ask a designer to refine the final images.
I did not find a sourced price for any of these, so get quotes if you hire.
Using your render in the real project
A render is only useful if it connects to real decisions. Use it to check the following before you spend money.
Layout flow. Can you reach the sink, stove, and fridge easily?
Finish combinations. Do the floor, cabinets, and counters look good together?
Lighting. Is there enough light on work areas?
Sight lines. What do you see from the doorway?
If your project is part of a larger renovation, our renovation tips article helps you think through the order of work. If you are adding space, our havenlydiy home additions guide covers a bigger scale of change.
For a fresh look at style, our guide to a coastal kitchen shows a light, airy direction you could test in a render. Our black windows post is worth a look if you are weighing a bolder frame around the view.
Rooms around the kitchen
The kitchen connects to other rooms, and a render can show those links. Soft furnishings help here, and our guide to custom curtains covers window treatments for the spaces beside it.
If you are also planning a bathroom, our shower renovation cost guide shows how we think about a room project. For a modern, connected kitchen, our smart home guide covers planning for technology early.
Our HavenlyDIYy gray house post shows how a neutral palette ties rooms together. If you plan to sell, our guide on how to sell your home fast covers what buyers notice, and a clean, well-lit kitchen is high on that list.
How to brief a renderer
If you hire someone, a clear brief saves rounds of revision. A kitchen render goes faster when the person making it knows exactly what you need, and the list below is my own suggested starting point.
Send the measured plan, with windows, doors and appliance sizes.
Name your finishes, with product names or photos of real samples.
Say which views you need, such as the entryway, the sink, and the island.
Describe the mood, such as bright morning or warm evening.
Set the output, including image size and file type.
Agree on revisions before work starts.
Cedreo’s point about showing the kitchen from the entryway and the sink is a handy default for the view list.
What a render does well, and where it falls short
Here is a balanced view, drawing on what the sources claim and on common sense. The claims about benefits come from vendors, so I mark them as such.
What it does well
- Makes a layout easy to understand for people who cannot read a plan.
- Lets you compare finishes and lighting moods before you buy, which Cedreo highlights.
- Supports quick changes during review, which Cedreo says take minutes.
Where it falls short
- Screen colors and digital materials only approximate the real thing.
- A polished image can hide practical problems such as clearances and storage.
- Good lighting and camera work take skill, as the Chaos and D5 articles show, and a quick app render may look flat by comparison. The Talk of the House article, for example, calls Sweet Home 3D’s photo rendering “cartoonish.”
The takeaway is simple. A kitchen render is a planning aid, and it works best alongside measured drawings and real samples.
Who benefits most
Homeowners planning a remodel gain the clearest view of choices before they commit. Designers use renders to win approval and keep clients aligned, which is the core of Cedreo’s pitch.
Sellers and builders can use them to show a plan to buyers before work is finished. I did not find independent data on how often each group uses renders, so I will not guess.
Questions to ask a designer or renderer
Bring these to your first conversation.
- Which software do you use, and can I see sample kitchen renders?
- How many camera angles are included?
- How many revisions can I request, and how fast are they?
- Will you use real product models and finishes from my supplier?
- What file format and resolution will I receive?
- Who owns the final images?
Write down the answers and compare them across providers.
A kitchen render checklist
Use this list as a final pass on your kitchen render before you rely on it.
- Room dimensions checked against the real space
- Windows, doors and appliances placed accurately
- Materials match real samples you have seen
- Daylight and artificial lights both set
- At least two camera angles chosen, including the sink view
- Props kept modest so the design stays the focus
- Image reviewed at full size for errors
- Changes logged and re-rendered after feedback
Mistakes to avoid
A few errors come up in the sources, and each is easy to prevent.
Technical-looking images. The Chaos blog says to convey intent, not draw a diagram.
Oversized textures. They use memory without improving the picture.
Hidden detail. Do not model what the camera cannot see.
One setting for everything. D5 advises adjusting effects per element.
Trusting vendor promises. Claims about time saved are not test results.
Most of these come down to one habit: decide what the picture needs to say, then build only what supports it.
Final thoughts on kitchen render
A good kitchen render helps you see a kitchen before it exists. It shows layout, materials, and light in one image, and it lets you change your mind cheaply. The sources agree that angles, lighting, and clean scenes matter, and they differ on tools, which mostly reflects what each vendor sells.
Whether you use a free app or hire a professional, start with accurate measurements, show the key views and check the render against real samples. This article is general information, not professional design advice.
Confirm dimensions, products and building requirements with a qualified designer, supplier or contractor before you buy or build.
FAQs:
What is a kitchen render?
Cedreo describes it as a hyper-realistic visual representation of a kitchen design, showing layout, appliances, cabinetry and seating.
What views should a kitchen render include?
Cedreo suggests several angles, such as the entryway and the sink. The Chaos blog names the sink and the wall cabinets that hold the fridge as must-see shots.
How big should textures be?
The Chaos blog says there is usually no need for huge textures and that 2k is enough. Oversized textures use memory and can cause problems with GPU rendering.
How should I light a kitchen render?
The Chaos blog recommends area lights and soft daylight through a Sun/Sky system. D5 uses HDRI lighting and rectangular lights over countertops, adjusted to avoid harsh highlights.
Is there free software for kitchen renders?
Talk of the House says Sweet Home 3D is open source and DreamPlan has a limited free version. It calls Sweet Home 3D’s photo rendering cartoonish.
Can a render replace measured plans?
No. A render is a planning aid. Confirm dimensions and real finish samples before you buy or build.