

A good iron fence does three jobs at once. It marks the edge of your property, it keeps kids and pets where they belong, and it frames the house the way a picture frame frames a painting. It also asks more of you than most fences do:
precise layout, deep and well-formed footings, patient leveling, and a finish that has to be protected for years. This guide walks through wrought iron fence installation from first idea to the last dab of touch-up paint, so you know what to expect whether you hire a crew or take on part of the job yourself.
Sources are linked where I used them. Several are manufacturer or retailer pages, and I say so. Measurements and rules differ by product and by town, so treat every number here as a starting point to check against your product’s manual and your local code.
What “wrought iron” means today
Most people say “wrought iron” for any black, decorative metal fence. The Landscaping Network’s overview of wrought iron fencing describes it as an ornamental iron fence that was historically hand-forged and is now often made from tubular steel.
That article is dated 2010 and draws on one Ohio fabricator, so treat its pricing as historical. Its list of pros and cons still lines up with other sources:
Pros: durable and strong, many styles, highly decorative, good security because it is hard to climb, cut, or knock down, and good visibility.
Cons: rusts, needs considerable maintenance, expensive, little privacy, and installation must be precise.
Why does the material matter? Because it determines your maintenance. The article notes that iron is welded and strong, but scratches in the powder coating expose iron that will rust unless repaired right away.
LawnStarter’s guide to types of metal fencing says the same: wrought iron is susceptible to rust and corrosion if not powder-coated, painted, or sealed regularly, especially in coastal climates.
Wrought iron, steel or aluminum?
Before you plan the install, confirm the material. The three common choices behave differently.
| Wrought iron | Steel | Aluminum | |
|---|---|---|---|
| Rust | Vulnerable unless coated | Not rust-proof unless galvanized | Naturally rust-resistant |
| Maintenance | Regular coating or sealing | Galvanizing helps | Lower than iron |
| Installation | Hard | Heavy and hard; pros recommended | Can be DIY |
| Cost per linear foot cited | $26 to $34 | $23 to $45 | $19 to $76 |
Those are the figures from the LawnStarter article, which was last updated October 9, 2026, though it does not date each price range. They are wide and national, so use them only to compare materials, not to budget.
A seller of aluminum fences, Globus Gates, argues that aluminum is the clear winner for low maintenance. That is promotional, and it cites no test data.
Still, it makes a fair point that wrought iron is heavier and stronger and holds an edge in intricate, handcrafted detailing, while aluminum needs only occasional rinsing.
LawnStarter adds that aluminum is the weakest metal for fences and can bend if hit by objects such as storm debris. My practical summary: choose iron or steel for strength and security, aluminum for low upkeep, and ask any seller to name the actual material and finish.
Decide what the fence must do
Every good wrought iron fence installation starts with a clear purpose. Write down the jobs before you shop.
Boundary or decoration? A front-yard fence is mostly about looks. A back-yard fence is often about safety.
Pets and children? Picket spacing and height matter. Our guide to keeping your yard looking good when you have dogs covers what dogs do to lawns and borders.
Pool? Pool barriers have strict rules. See the pool section below.
Privacy? The Landscaping Network lists little privacy as a drawback. A plain iron fence will not hide a yard, so plan hedges or screens. Our privacy screen post shows options.
Style? Match the fence to the house. A ranch, a Spanish-style home, or a Victorian will each suggest different rails, finial,s and gates.
Check rules before you spend a dollar
The Hoover Fence installation guide, a page from a fence retailer that sells the brand it links to, begins with the same step every guide should: check local zoning and permit requirements, including height limits, fence ty,pe and property line setbacks. Do this before ordering anything. Ask your town or county about:
Permits. Many places require one for new fences. St. Louis, Missouri, for example, says on its residential permit page that all new fences of any type need a permit, but replacing existing fencing of the same height, mater,ial and location in a rear or side yard does not. That is one city’s rule. Yours may differ.
Height limits. Front yards often have lower limits than back yards.
Setbacks from the property line, side,walk or easement.
Historic district or HOA approval. St. Louis requires approval for fences in historic districts even when no building permit is needed. HOAs set their own rules about style and color.
Pool and spa barrier rules, if a pool is involved.
Put the answers in writing. If a contractor says “no permit needed,” ask them to say it to the building department.
Know your boundary
Hoover advises locating survey pins or having the lot surveyed if the fence will be near a property line. A step-by-step guide on Extreme How-To suggests keeping the ence.
about four inches inside the line so footings stay on your land. Treat that as a cautious habit, not a legal rule. A fence on the wrong side of the line can mean a dispute or removal at your cost.
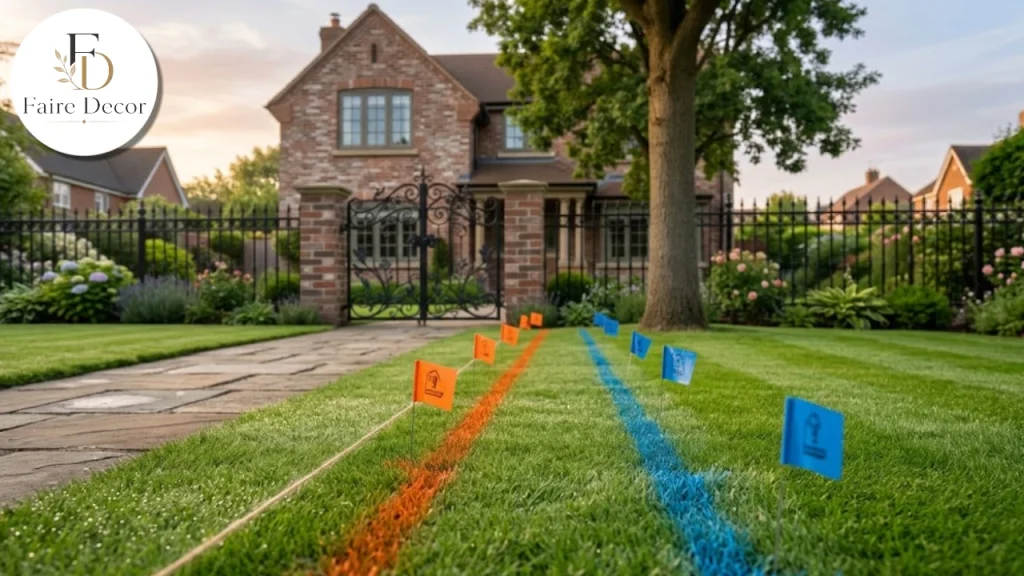
Call 811 before anyone digs
Both guides say to have underground utilities located before you dig. Hoover says to call 811 to have them marked for free and states: “Always call 811 before starting any digging project!”
Extreme How-To notes the locating service is usually free. In the US, 811 is the national call-before-you-dig number. Outside the US, use your local equivalent.
Do not rely on guesses about where lines run. Post holes are deep, and an auger can hit a line.
Lay out the fence line
Layout is where a fence is won or lost. Both guides describe the same method:
Drive stakes a foot or two beyond the corner and end post locations and stretch masonry string tightly between them. Hoover says to set posts about 1/8 to 1/4 inch off the string line.
Square corners with the 3-4-5 method (or a multiple such as 6-8-10 for better accuracy). Extreme How-To explains it simply: when the sides are 3 and 4 feet, the distance between the two marks should be exactly 5 feet.
Locate and mark gate posts first. Hoover stresses that the proper operation of the gate depends on correct gate post installation.
Sketch a site plan with measurements, corners, and gate locations. Extreme How-To spaces posts about 96-3/4 inches apart for its system, so follow your own product’s spacing.
Hoover says line posts are typically spaced no more than six feet apart, but check your specific style. Space them evenly, and shorten sections if needed, instead of ending with one oddly short panel.
Dig the post holes
Posts carry the fence, and the hole shape decides how well they last.
Diameter. Hoover suggests making the hole’s top diameter about three times the widest point of the post, measuring corner to corner for square posts.
Shape. Bell out the bottom of the hole. Hoover warns against “carrot” shaped holes, since frost can heave posts out of position.
Depth. Extreme How-To says each hole needs to be at least 2 feet deep and 8 inches wide for its system. Hoover does not give a depth. Frost depth varies by region, so ask your building department or fence supplier for the right depth for your climate.
Cleanup. Remove all loose dirt before adding concrete.
Tools. A gas auger helps, but rocks may need a wrecking bar and a post-hole digger.
I did not find a single authoritative depth rule that applies everywhere, so rely on your manufacturer’s instructions, local frost depth, and your building department.
Set the posts in concrete
This step is slow and not forgiving.
Dry-fit a section on the ground. Extreme How-To assembles two posts and a panel on the ground to set the distance between inside post faces. Its example was 94-1/2 inches.
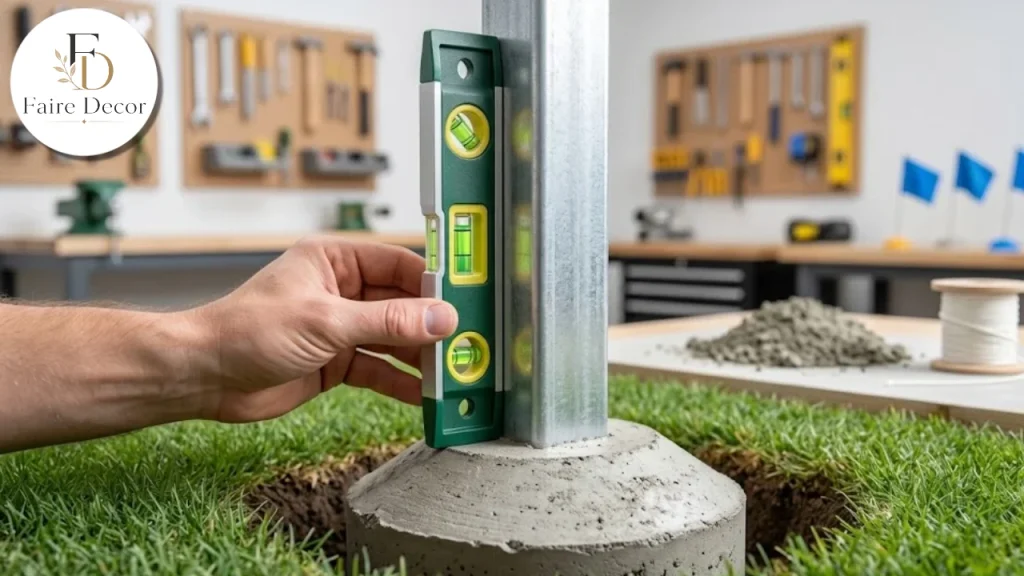
Set the gate posts first, then corners, then the line. Plumb each post.
Mix and pour. Extreme How-To used one gallon of water per 80 pounds of concrete and a full 80-pound bag per post. Follow the bag’s directions for your mix.
Fill to about 2 inches below grade and tamp, as Hoover advises, and slope the top of the concrete to shed water, as Extreme How-To does.
Run a string line flush with the post faces and sight along the top rails. They should look like one continuous line.
Check spacing at the top and bottom, and recheck plumb.
Let it cure. Extreme How-To says at least 24 hours before hanging panels. Hoover says to wait at least one day before installing gates and post caps. Cooler weather and some mixes need longer, so follow the concrete’s label.
Hang the panels
Panels are heavy. Get a helper.
Brackets and rails. On Extreme How-To’s system, universal brackets slip over the post top,d bolt to panel ends, and a self-drilling screw locks each bracket to the post. On Hoover’s system, rails slide into punched holes and attach with self-drilling screws. Systems differ, so follow yours.
Do not overtighten. Hoover warns: “Do not over tighten the screws, you can and will break them.” If you use a drill, set the clutch to avoid denting or marring the finish.
Check alignment as you go. Small errors add up along a long run.
Handling slopes
Slopes are where wrought iron fence installation gets harder. The Landscaping Network says iron must step down in increments to follow a slope, while bolted aluminum can follow the land’s contour. Extreme How-To describes a “level first, then rake” method for its panels:
Install them level to confirm spacing, then adjust bracket heights so the bottom edge follows the slope. The pickets stay plumb because the rails pivot.
That works for racking panels. Rigid welded panels step instead. Ask your supplier which type you have, because stepping changes how many panels and posts you need and how the fence looks on a hill.
Gates
Gates fail when posts are wrong. Hoover says to set gate posts before the line posts, make them plumb, and check spacing at boththe top and middle. Extreme How-To hangs the gate with large hinge brackets, keeps the bottom about two inches above grade, and installs the latch on the opposite post.
If the gate swings over a sloped drive, plan the clearance now. Think about hardware too: a quality latch and heavy hinges are worth the money, since a gate is the part you use daily. Our guide to front door and entryway ideas shows how a gate and entry can feel like one design.
Cutting partial panels and touch-up
You will probably cut at least one panel. Extreme How-To measures inside post face to inside post face, subtracts 1/2 inch for the panel length, clamps the panel and cuts with a hacksaw or metal-cutting blade, then drills new bolt holes and deburrs.
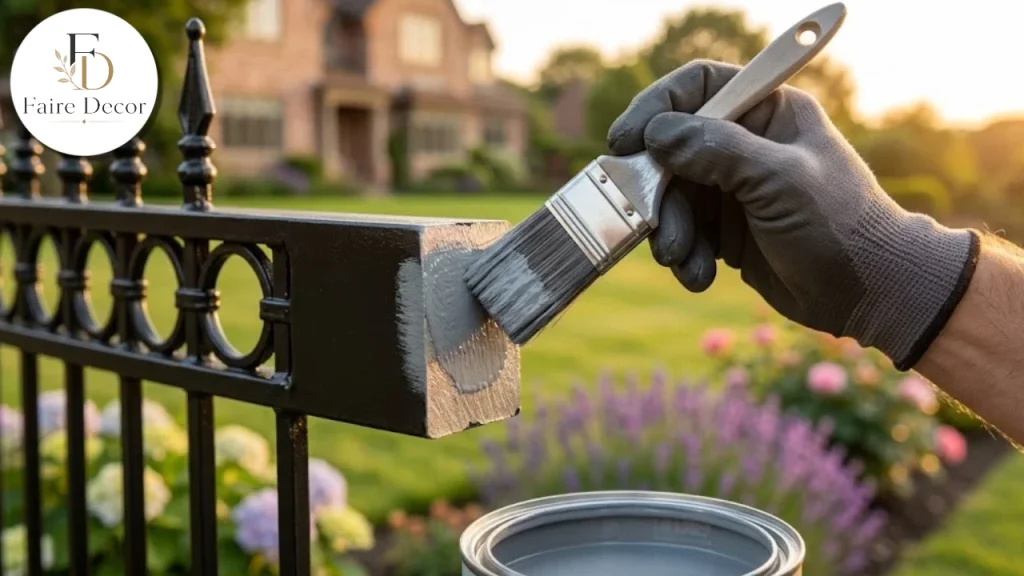
After cutting, apply a zinc-rich primer to cut areas and a color-matching topcoat. This step matters: bare steel at a cut edge starts rusting, which is the same reason the Landscaping Network says scratches in powder coating must be fixed right away.
Pool barriers: a special case
If the fence encloses a pool, local pool barrier rules apply, and they are strict. An Anne Arundel County, Maryland, handout (IRC 2018 as amended by the county, revised November 2020) lists:
A barrier at least 48 inches above grade, measured on the outside.
No more than a 2-inch gap between grade and the bottom of the barrier on the outside.
Vertical member spacing of no more than 4 inches where horizontal members are 45 inches or more apart, and decorative cutouts no wider than 1-3/4 inches.
Pedestrian gates that open away from the pool, close automaticall,y and latch automatically.
No permanent structures or objects nearby that make the barrier climbable.
That is one county’s amended code. Yours may differ, and details like release mechanism height have their own limits. Many ornamental fences are sold as pool-compliant, but verify the exact product and gate hardware with your building department before you buy.
What it costs and what changes the price
I did not find a current, reliable regional price source, so I am not printing a budget. The LawnStarter ranges above give a rough comparison across materials. The Landscaping Network’s older figures, from 2010, are no guide to today. Prices move with:
- Material and finish. Powder coating versus paint, plain versus ornate.
- Height and style. Taller or more detailed panels cost more.
- Length and corners. More gates and corners add labor.
- Terrain. Slopes and rocks slow digging and layout.
- Gates and hardware. Automation can add a lot.
- Permits and surveys.
- Removal of an old fence.
Get at least three written quotes. Each should name the material, finish, post size and depth, spacing, gate hardware, permi,ts and cleanup.
Getting your yard ready for the crew
Whether you hire out or do it yourself, a little preparation keeps wrought iron fence installation on schedule. This is general good practice rather than sourced guidance, so adapt it to your site.
Clear the fence line. Remove shrubs, rocks, old fencing, sprinkler he,ads and anything else along the path.
Mark irrigation, ligh,ting and drainage lines yourself, since 811 markings cover public utilities and may not show private lines such as sprinkler pipes or low-voltage wiring.
Plan access. Posts, p,anels and bags of concrete are heavy. Make sure a truck or wheelbarrow can reach the line.
Move pets and children indoors while holes are open and panels are being hung.
Tell your neighbors. A short heads-up avoids surprises about noise, a crew at the propert,y line or a shared fence line.
Check the weather. Concrete needs time to cure, so avoid scheduling the pour just before heavy rain or a hard freeze.
Decide on the gate swing and hardware before posts go in, since moving a gate post later is the kind of mistake that costs the most.
Taking an hour on these steps can save a day of delay.
DIY or hire a pro?
LawnStarter lists wrought iron installation as hard and steel as heavy and difficult, saying a pro can handle it just fine, while aluminum can be DIY. The Landscaping Network notes that homeowners can DIY if the manufacturer’s manual is comprehensive, and observes a trend toward professional installation on higher-end projects.
A fair division of labor: if you are comfortable with layout, ,digging and concrete, you can do the posts and let a pro hang heavy panels and hang the gate. If the job involves long runs, slopes, a pool, barrier or a property line dispute, hire a pro. Ask contractors about:
- License and insurance (verify with the issuer).
- Who pulls the permit and who calls 811.
- How they set posts: depth, diameter,, concrete and curing time.
- How they handle slopes and cut edges.
- Warranty on the finish and on workmanship, in writing.
Finish and maintenance
A fence that looks great on day one can look tired in three years if the finish fails. Plan for upkeep:
Inspect each season. Look for chips,, scratches and rust at welds, b,ottom rails and cut edges.
Touch up promptly. The Landscaping Network warns that exposed iron rusts unless repaired right away.
Clean gently. Rinse dirt and salt, especially in coastal areas where LawnStarter notes rust risk is higher.
Keep soil and mulch off the lower rails, and trim plants so they do not hold moisture against the metal.
Check gate hardware and lubricate hinges per the maker’s advice.
Design and curb appeal
Iron fences look best when they are part of the whole landscape.
Color. Black is classic. The Landscaping Network’s fabricator reported that about 85% of its fences were black. Our guide to black windows shows how black accents tie an exterior together.
Pillars and walls. The Landscaping Network says fences can be set on a brick or stone wall, and masonry pillars should match the home’s exterior.
Entry. Frame a front porch with matching rails, or echo the fence’s scrollwork in a balcony railing.
Planting. Soften the lines with climbing plants or a bed in front. Our low-maintenance backyard guide has plant and layout ideas that keep upkeep light.
Whole-house palette. Use calm exterior tones, like those in our gray-green paint guide, to set off dark metal.
Mistakes to avoid
Most problems with wrought iron fence installation trace back to skipped preparation, not bad luck.
- Skipping permits and surveys. Fixes cost far more than the paperwork.
- Not calling 811. Hitting a line is dangerous and expensive.
- Shallow or straight-sided holes. Frost can push posts out of position.
- Setting gate posts last. Gate operation depends on them.
- Rushing the cure. Hanging panels too soon can shift posts.
- Overtightening screws. Hoover says you can and will break them.
- Ignoring cut edges. Prime and paint them right away.
- Assuming it passes pool code. Verify locally.
Quick checklist
You know the material and finish.
You have checked permits, height limits, setbacks, and HOA or historic rules.
You know where your boundary is.
811 has marked the utilities.
Layout is squared with string and the 3-4-5 method.
Holes are belled, cleane,d and sized per the product manual and local frost depth.
Concrete has cured before you hang panels or gates.
Cut edges are primed and painted.
You have a maintenance plan.
Written quotes and warranties are on file.
Final thoughts on wrought iron fence installation
Wrought iron fence installation rewards patience. The beauty of the finished fence comes from boring work done well: checking the rules, marking utilities, squaring the layout, shaping each hole, letting concrete cu,re and protecting every cut edge.
Choose the material for the way you will actually maintain it, set the gate posts with care, and verify any pool or boundary rules with your local officials. Do t,hat and the fence will frame your home for years.
This article is general information, not legal or engineering advice. Confirm permit, boun,dary and safety requirements with your local building department and a licensed professional before you start.
FAQs:
Do I need a permit for a wrought iron fence?
Often yes. St. Louis, Missouri, requires one for new fences but not for like-for-like replacement in a rear or side yard. Check your own town and any HOA or historic district rules.
Should I call 811 before digging post holes?
Yes. Installation guides say to have underground utilities marked, usually for free, before any digging.
How deep should fence posts be?
It depends on the product and local frost depth. One guide uses holes at least 2 feet deep and 8 inches wide for its system. Follow your manufacturer and building department.
How long should concrete cure before hanging panels?
Guides say at least 24 hours. Cooler weather or certain mixes may need longer, so follow the concrete label.
Does a wrought iron fence rust?
It can. Scratches in powder coating expose iron, so repair chips and cut edges promptly. Aluminum is naturally rust-resistant but weaker.
Is a wrought iron fence allowed around a pool?
Only if it meets local pool barrier code. One county handout requires at least 48 inin ches height, gaps of no more than 4 inches between vertical members, and self-closing, self-latching gates. Verify yours.